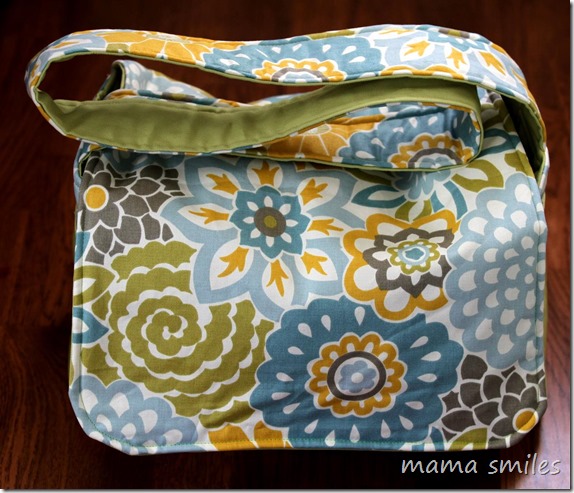
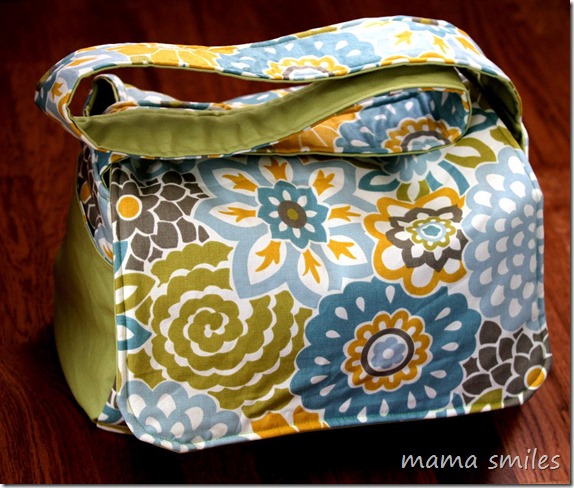
Easy to Sew Messenger Bag Sewing Tutorial
Sometimes I use my blog to motivate me to try something I’ve been wanting to do, but haven’t actually gotten to. This easy-to-sew messenger bag is exactly one of those instances! Jo-Ann sent me two yards of Waverly fabric to make something with to help spread the word about the Jo-Ann and Waverly Facebook contest! I decided to conquer my fear of bag-making with this gorgeous Waverly print and ikat bag’s Make a Bag series.
If you have been looking for an easy to sew messenger bag tutorial, you’ve come to the right place! This messenger bag has two pockets, but requires no sewing skills beyond sewing a straight and slightly curved line! I made it in between feeding and caring for four children and packing for a cross country move (come back tomorrow if you want more details on what THAT looks like!)
Materials:
- Fabric – I used Waverly décor-weight fabric (love their prints, and I was sent 2 yards to use to make whatever I wanted!) and duck cloth for the green fabric.
- Quilt batting – this will help the bag hold its shape.
- Sewing machine, thread, scissors
Pattern pieces:
- Pockets: cut 4, 2 in each fabric. Size is flexible; mine were 8 inches by 6.5 inches, plus seam allowances. Remember that pocket sides and bottoms need double the seam allowance of the bag sides. So with a 1/4″ seam allowance, you would need 9 inches by 7 1/4 inches.
- Bag sides: cut 6, 2 in each fabric, plus 2 from quilt batting. Mine were 8 inches by 8 inches. 8.5×8.5 inches with a quarter inch seam allowance.
- Bag body: cut 3, 1 in each fabric, plus 1 from quilt batting My bag was 15 inches by 31 inches; 15.5 inches by 31.5 inches with a 1/4″ seam allowance.
- Strap: cut 3, 1 in each fabric, plus 1 from quilt batting I cut my straps 3 inches wide and about 40 inches long; the length of the strap will vary based on your height and how you want the bag to sit. Remember when cutting the strap to add about 4 inches to accommodate the reinforcing on the sides of the bag (see instructions below.
Note: It is generally advisable to iron fabric. I didn’t, because we’re moving and my iron was packed. The bag still works; it just has some wrinkles (like any bag would get after being used for a while).
Baste quilt batting to the wrong sides of whatever fabric you plan to have on the outside of the bag at the end. This holds it in place and keeps you from making silly placement mistakes while sewing the bag together (speaking from experience).
Sew pockets, right sides together. Leave an opening at the top to turn right side out.
Trim seams and turn right side out. Top stitch across the top – this will close the opening you used to turn the pocket right side out.
Baste pockets to the sides
Stitch sides, right sides together, to the center of the bag. Sew the outside bag and inside bag separately – you are making two bags that will be sewn together to become a single reversible bag.
Sew strap pieces together, right sides together. Stitch with the same side of the fabric facing up on both sides – this will help keep the strap nice and smooth.
Turn strap right side out and top stitch edges.
Attach straps to one of the bags. There should be a couple inches overlap with the bag so that you have room for reinforcement stitching.
Pin bags together, right sides together. Stitch, leaving an opening for turning right side out.
Turn right side out and topstitch. You have a beautiful new bag!
What


No comments:
Post a Comment