Placket Tutorial
MAY 19, 2010
I’m participating in A Frock By Friday, an online sew-along where women across the country world work on a dress step by step through the week to finish by Friday. It’s led by Kathleen of Grosgrain.
The end result will be this fabulous dress. I chose a super lightweight denim for my dress and decided against using a contrast fabric. I decided to use a placket, a traditional menswear detail, on my dress front to give it some cowgirl flair.
Here’s what I did. This tutorial (mostly) follows the steps laid out in David Page Coffin amazingShirtmaking.
First, let’s see the finished product. The buttonhole layer of my placket is 7/8 inch wide and the button layer is 3/4 inch wide. The placket is roughly 19 inches long.
Step 1: Cut the placket out. You’ll need to cut out a rectangle 4.5 inches by 21 inches. Why? Well, since you’re curious, the formula is
seam allowance + 3*button layer width + 2*button hole layer width
In this case that’s .25 + 3 x .875 + 2 x .75 + .25 = 4.5 inches wide.
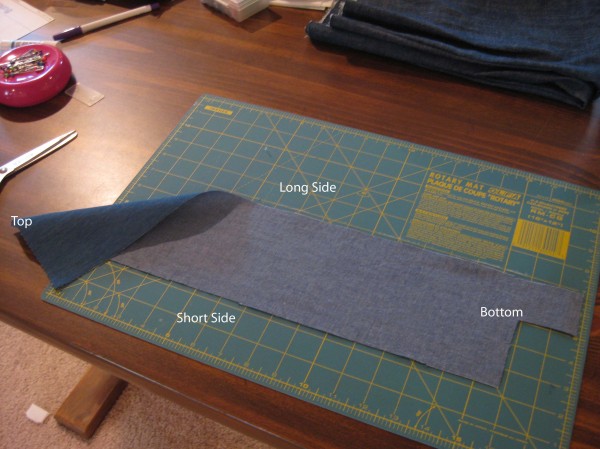
Place your placket face down and cut a 2 inch by 2.75 inch rectangle out of the bottom right corner.
Let’s take a minute to orient ourselves.
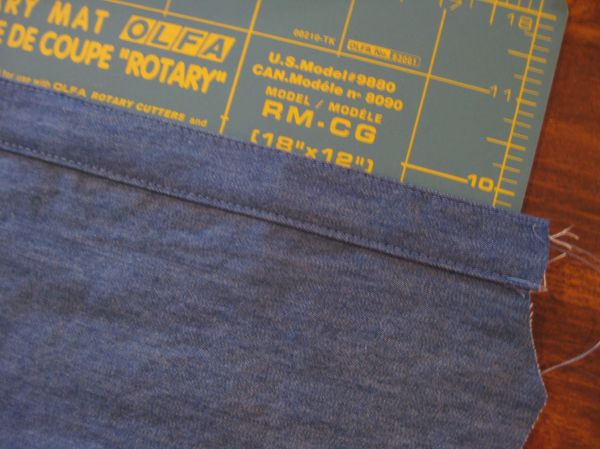
Step 2: With the wrong side of the fabric up, fold the long side and the short side under by ¼ inch. Press.
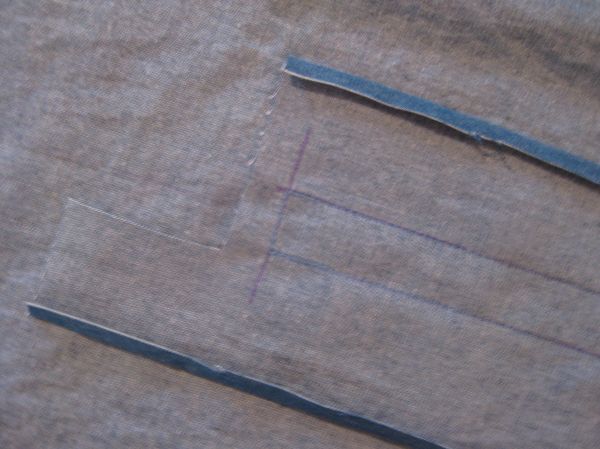
Step 3: Marking your fabric. You will make 4 lines total, 3 on the placket and one on the dress front. Put the placket face down. You’ll be able to see the edges you folded under. Make a line 1½ inches from the folded short edge. Make a line 1¾ inches from the folded long edge. Make a third line ½ inch from the long part of the bottom. The photo should make it clearer.
Marking the dress front is easy: mark a line down the center of the dress on the wrong side of the fabric.
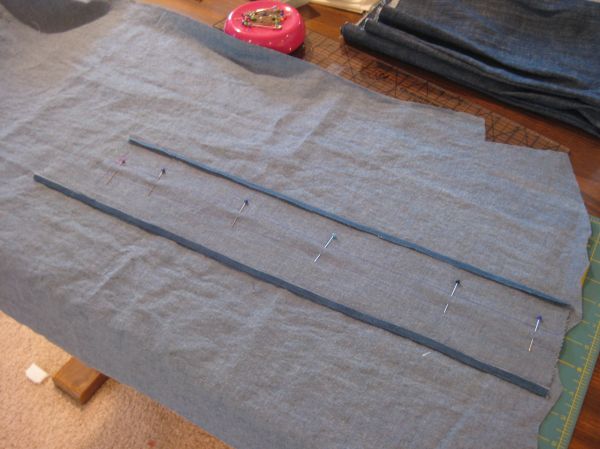
Step 4: Sewing the placket to the dress front. Place the dress front face down on the table. Place the placket face down on the dress front. Position the placket so that the center line of the dress front is between the long lines you drew on the placket.
Pin the placket in place and sew the placket to the dress front along the lines you drew on the placket. The stitching will be in a U shape.
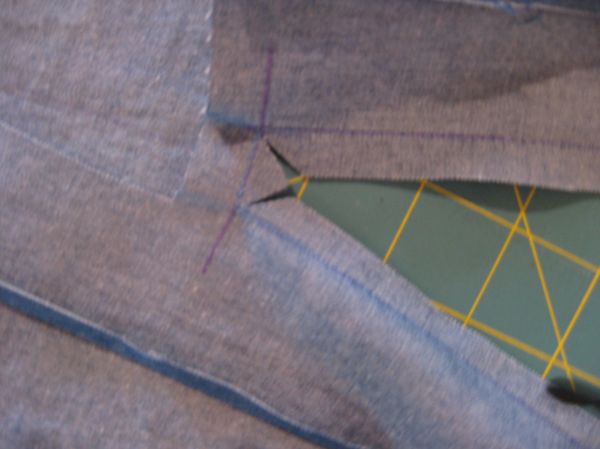
Step 5: Cut a Y shape between the lines of stitching. In the photo I’ve fanned it out so that it’s clear where I’ve cut it.
Step 6: Turn the whole placket to the right side of the dress front.
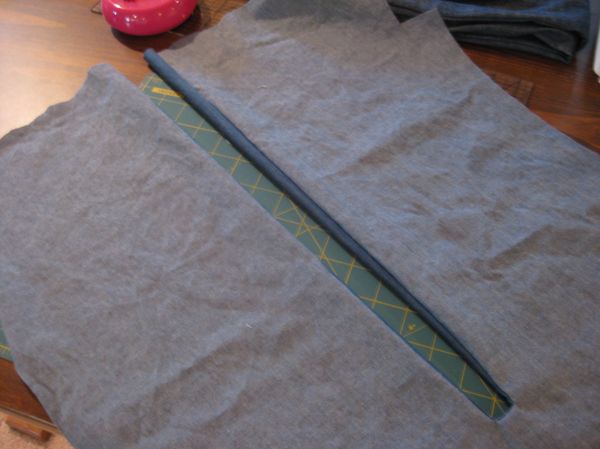
Here's what it should look like when you've turned the placket to the right side of the dress front. You shouldn't press it like this. I'm just trying to keep you oriented.
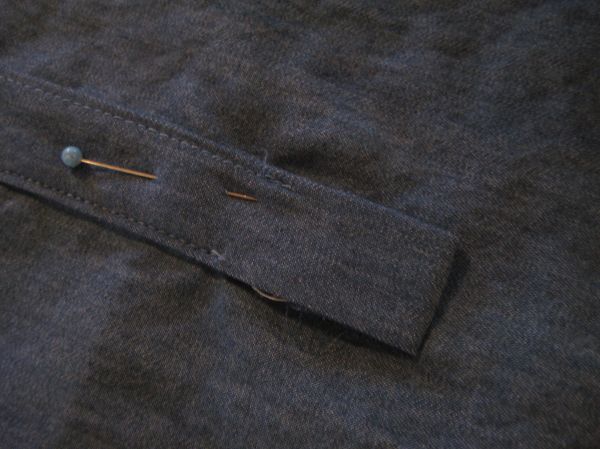
We’re going to work with the short side (the eventual button layer) of the placket first. Press the seam towards the placket. Then fold the placket back to the seam line and press again. Here’s what it should look like, I’ve pinned the edge back so that you can see the seam.
Step 7: Sew two lines of top stitching on placket. This side of the placket now encloses dress front.
Step 8: Repeat steps 6 and 7 for the long side of the placket (the eventual buttonhole layer.
Step 9: You’re almost there! You can probably see what need to happen to finish this. Let’s take a look at the bottom of the placket.
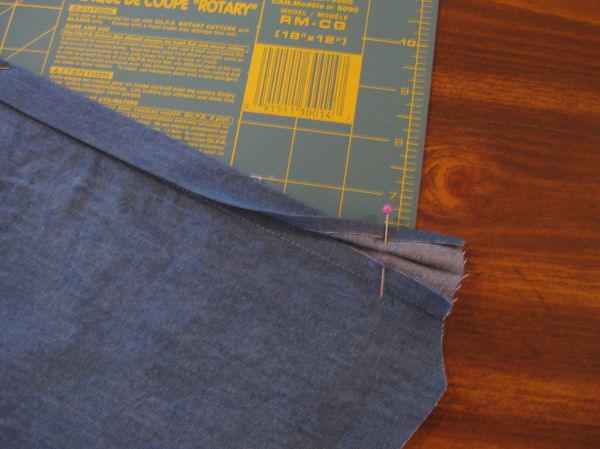
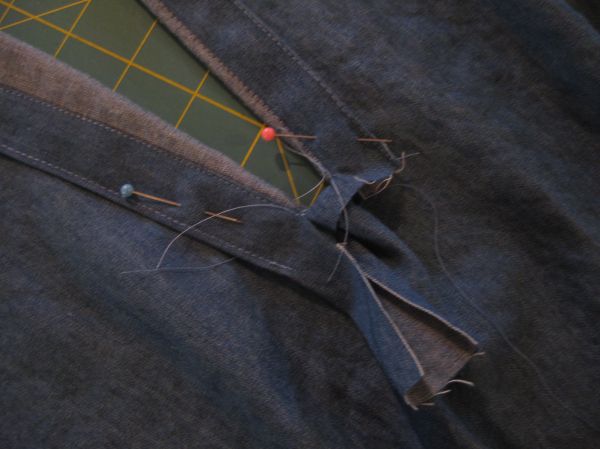
Clip your threads and fold the short edge over carefully as shown. Pin it in place. Check to make sure the wrong side of the dress front also looks like the pictures and sew in place.
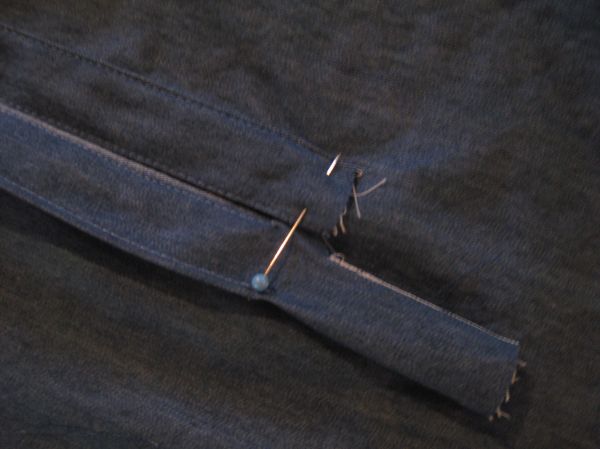
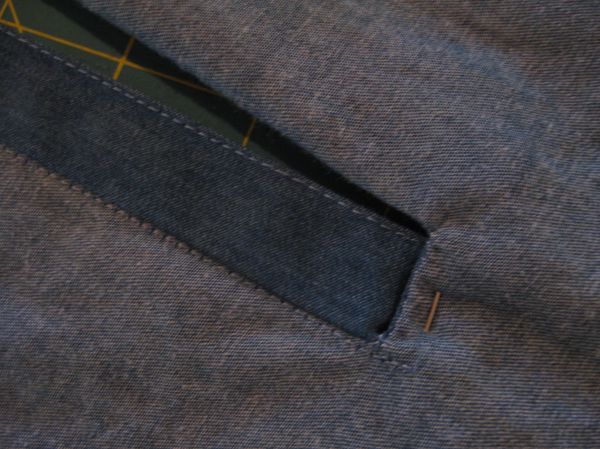
The right side of the dress front. When you sew the short side of the placket in place, you'll be sewing where the pin is.
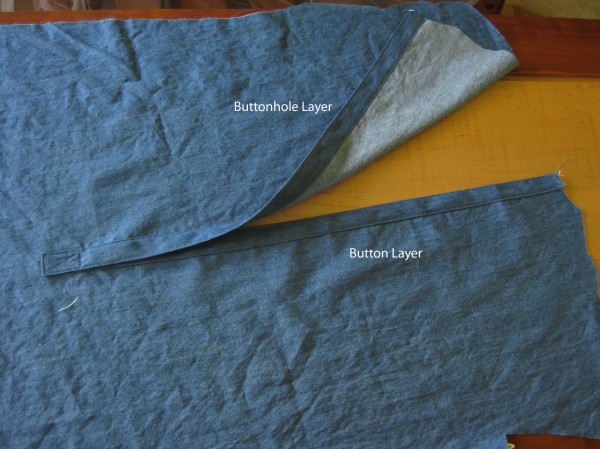
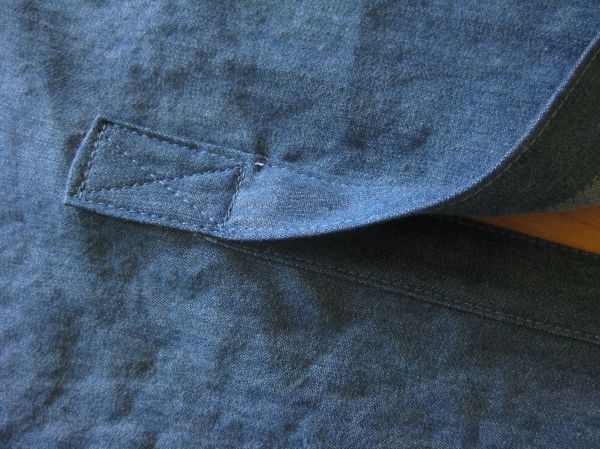
Step 10: Fold the long edge of the placket over the short edge. Turn the end of the long end under. You may decide to trim the long end a bit; that’s fine. Press and sew the distinctive X at the bottom of the placket. You’re done!
No comments:
Post a Comment