How to make abaya – farasha
How to make abaya – farasha
May 21, 2011 //
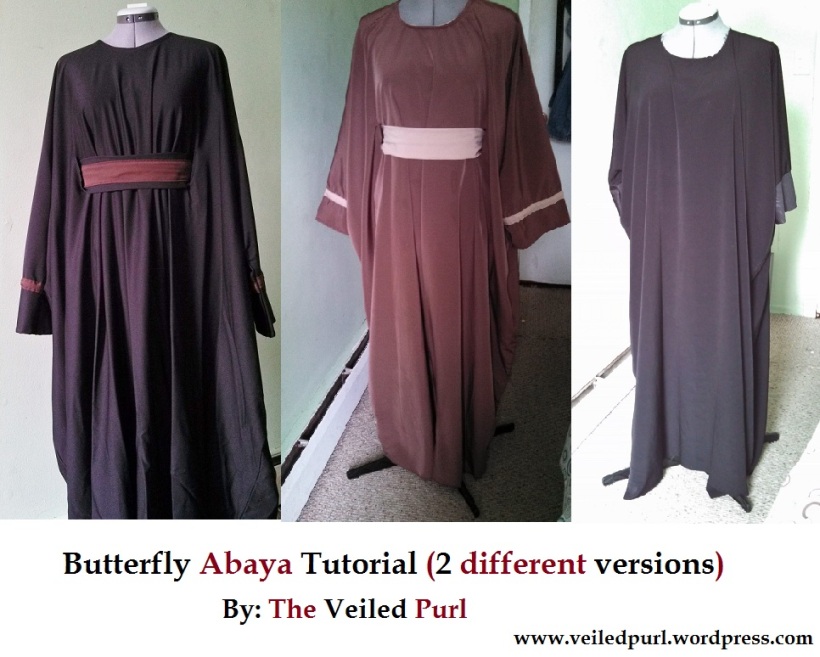
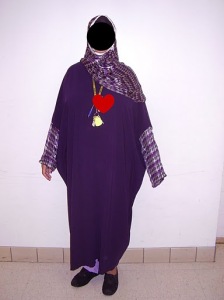 Objective: A closed farasha abaya.
Supplies:
1. fabric (we will go over the amount later). I recommend silk, linen, rayon/viscose, cotton, bamboo, or wool in some climates. Synthetic fabrics are available but not breathable.
2. thread. I recommend Gutermann or Mettler, but any good brand of thread will be fine.
3. hand or machine needles appropriate to the fabric you are using.
4. ruler (preferably a long one)
5. method of marking the cloth. Some use a soap sliver, some a washable marker, some a tailor’s chalk. Just make sure to test it on a scrap first.
6.scissors for cutting fabric.
7. bias tape for neckline and sleeve openings(optional).
8. sewing machine or serger (optional, remember that abayas were traditionally sewn by hand).
Procedure:
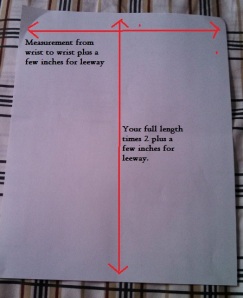
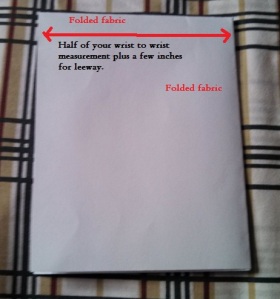
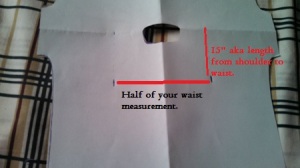
1. Measure yourself or have a friend measure you. You need the following measurements: nape of neck to floor (A), around the body at widest part (add 10″ or 40 cm, then divide this by two for B), and wristbone to wristbone across the back and shoulders (C). Please remember that the widest part could be chest, hips, stomach, upper thighs, whatever.
Example: A sister is 44″ around at her widest part. She adds 10″ to this to get 54″, which allows for a loose and modest garment. She divides this by 2 and arrives at 27″ for B.
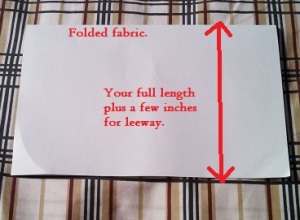
2. Purchase fabric. You need twice A (A is getting you from the shoulder to the floor, but you need both a front and a back). Make sure the fabric you choose is wide enough for C or be prepared to use sleeves.
2. Wash and dry the fabric in the same way that you plan to treat the finished garment.
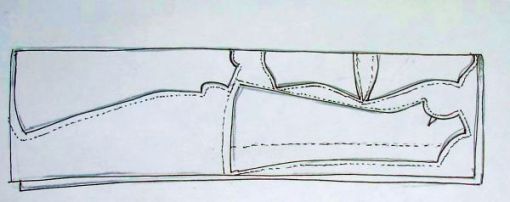
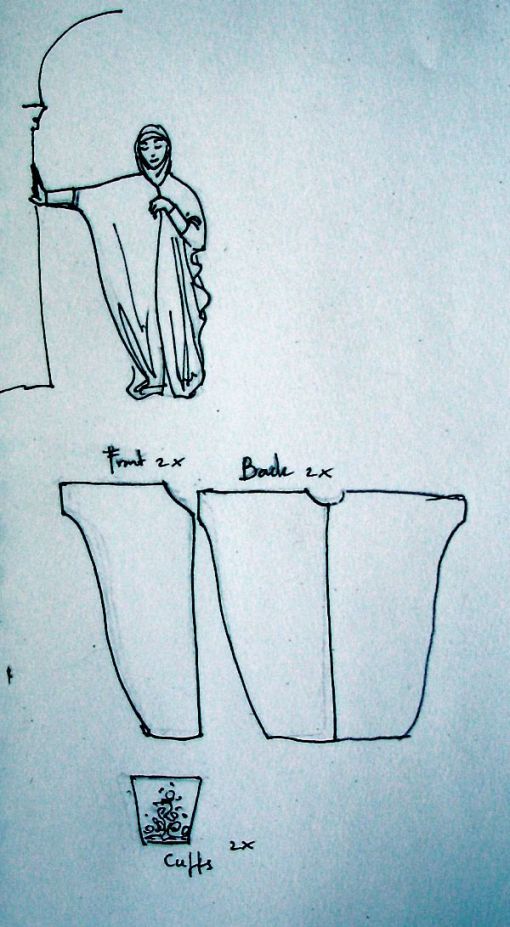
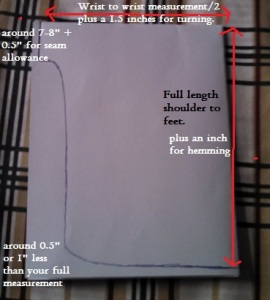
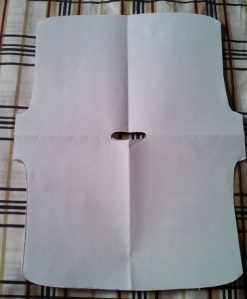
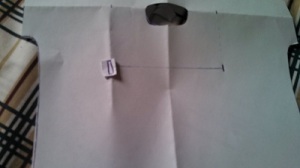
3. Cut the fabric according to the following diagram:
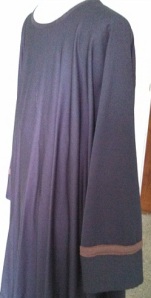
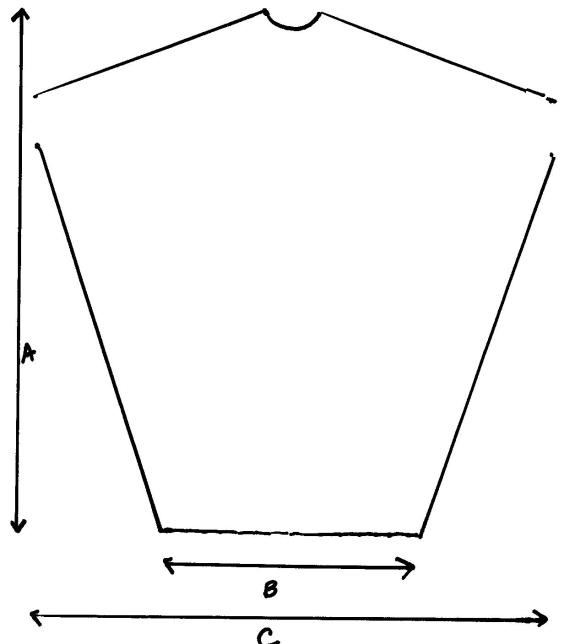 Note that there is a slant in the shoulders in the picture. The top of the wrist opening should be 11″ or 28 cm down from the shoulder if C is 152 cm or 60″ – if your C is shorter, adjust accordingly. The wrist openings should measure about 15 cm or 6″. Mark the bottom of the sleeve opening (I use a short snip into the fabric but it’s your choice). In the sample I made, there was not enough fabric to make the garment floor-length, so I am wearing pants underneath.
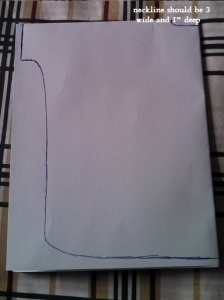
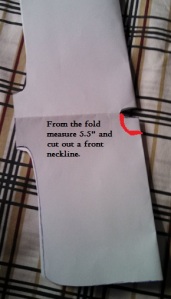
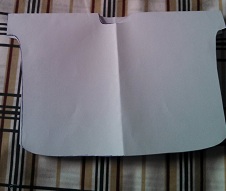
4. I suggest that you use the neck opening from a well-fitting garment as a guide for how to cut the neck. Remember that if it is too small initially, you can enlarge it, but there is no way to shrink a too-large neckline.
5. All sewing is done right sides together. Sew one shoulder seam.
6. Finish neckline with bias binding or some other method. I finish it with a serger since the shayla covers the neckline.
7. Sew the other shoulder seam.
8. finish sleeve openings with bias binding or some other method. If you are going to use attached sleeves, skip this step.
9. sew up side seams to markings for sleeve openings (do not sew sleeves closed!).
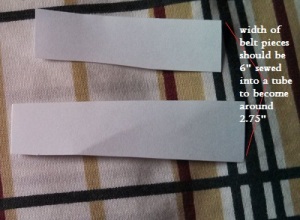
10. If you are attaching sleeves, make tubes of an appropriate length and width, hem them appropriately or double them so no hem is needed, and sew to openings. You will notice that in the sample garment I made, the chiffon sleeves can be worn rolled up or down.
11. try on garment and hem.


