Sew a Messenger Bag DIY tutorial

Messenger bags are a functional and super cute gift, and easy to sew too. They can be sewn up in less than a few hours, and can be embellished in so many ways to make them truly unique.

This tutorial is for a very basic bag, no zippers or snaps. Just a good starting place to begin your personal sewing journey.
Once you start, I bet you'll be hooked.
(In a good way!) ♥
**If starting out, use quilting weight cotton. It's simple to handle.

Here we go.
********
1. Cut out the body pieces.
Dimensions: Body (cut 4) 18"wide x 15" tall
Be sure to cut 2 lining pieces and 2 exterior pieces.
Cut two pieces of interfacing now at the same dimension, these will be fused onto thewrong side of the exterior pieces.

2. Cut two pieces for the flap 17" wide x 14" tall.
Cut fusible interfacing now at the same dimension-one piece only.
Patchworked flaps are gorg. Go ahead and do it if you like.
I had to patchwork my exterior piece, as I ran out of fabric.

This is the interfacing I use-it's thick but soft, gives that Vera Bradley sort of feel to bags. You can buy this on fabric.com or ebay. Make sure to buy fusible--as the extra step of sewing non-fusible is a pain....

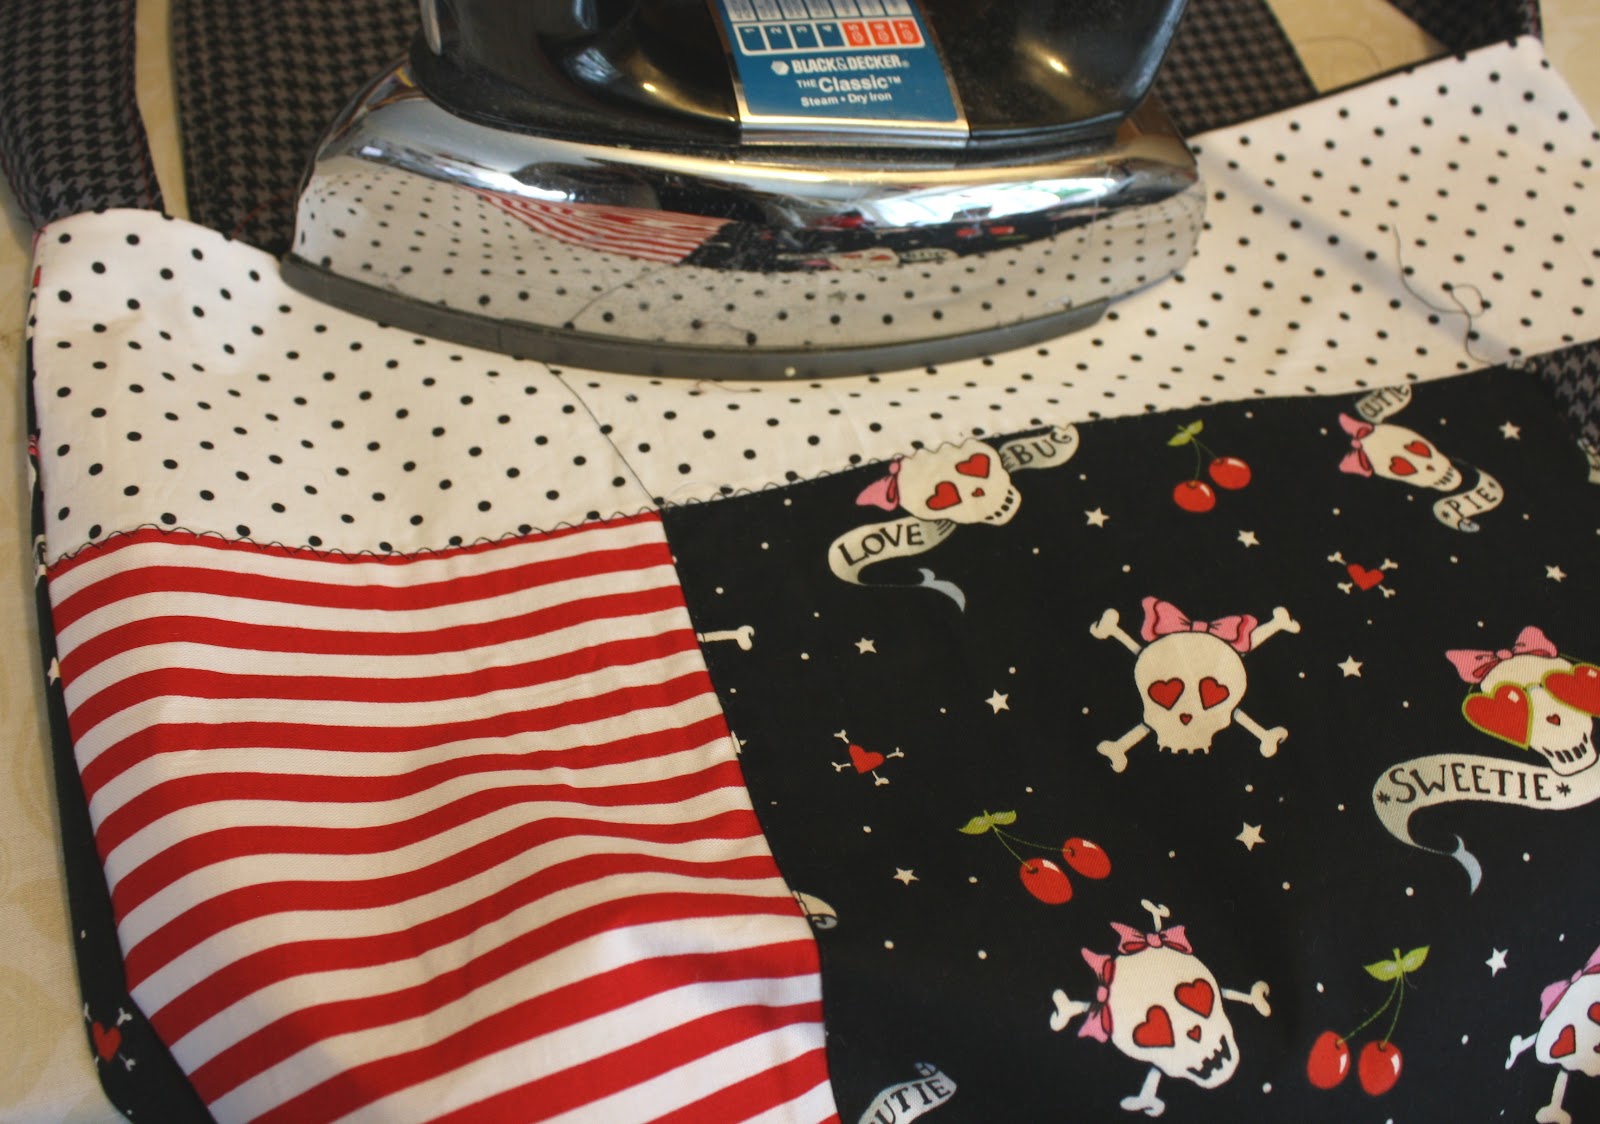
3. Iron the interfacing onto the wrong side of the exterior pieces, including the flap piece too. I do it all at once, so then my pieces are ready to sew.
*Be sure to iron the right side of the interfacing to the fabric---don't iron it onto your ironing board like I have..grrrrrrrrrrrrrrrr.

Place the two flap pieces right sides together.

4. Sew around three sides of the flap piece, keeping the TOP open for turning.
(It will be sewn shut later in the process, don't freak out.)


Set the flap aside for now.
********
The bag body bit:
6. Sew up the two exterior pieces, right sides together.
Sew a 1/2 " seam, again leaving the top open.

8. To make the boxed corners, cut a square out of the two bottom corners. I did 2.5 inch squares for a nice shape. (2.5" tall and 2.5 " wide.)
You can do any size, I'd just advise staying within 3 inch squares, as after that it distorts the shape a bit.

9. Bring the bottom and sides together and match the seam neatly. PIN this well. We will sew it next.


10. Sew back and forth a couple of times to strengthen the seam. I zigzag too, just for good measure.
11. Flip it right side out and take a look.
12. Repeat this process for the lining.

13. Pin flap piece to exterior piece, RIGHT* sides together. Sew or baste stitch it in place now.
Be sure it's centered.
(**The side you want to face to the outside when the bag is finished should be facing IN now.)

**********
Now let's make the strap.
14. Cut A piece of fabric 5" wide by 30" long. This way you can always shorten it later if need be. If the bag is for a very tall person, you might want to make it longer.
Interface the strap now as well.
15. Fold long sides together and press. This makes a nice crease as a guideline.

16. Unfold the strap, then bring the two raw edges back to the center crease mark, they should meet-press firmly.

17. Fold it over again, so now there is only one open edge, press. Sew this edge closed and continue all the way around the strap so it is top stitched on both long sides.

18. Pin finished strap to the bag side. Raw edges aligned at the top. Be sure strap is not twisted, and pin it to the opposite side as well.
*** Test it now for length. Shorten if you need to. I'm 64 inches tall (almost) so mine ends up being around 28" long.
Sew over several times for strength.
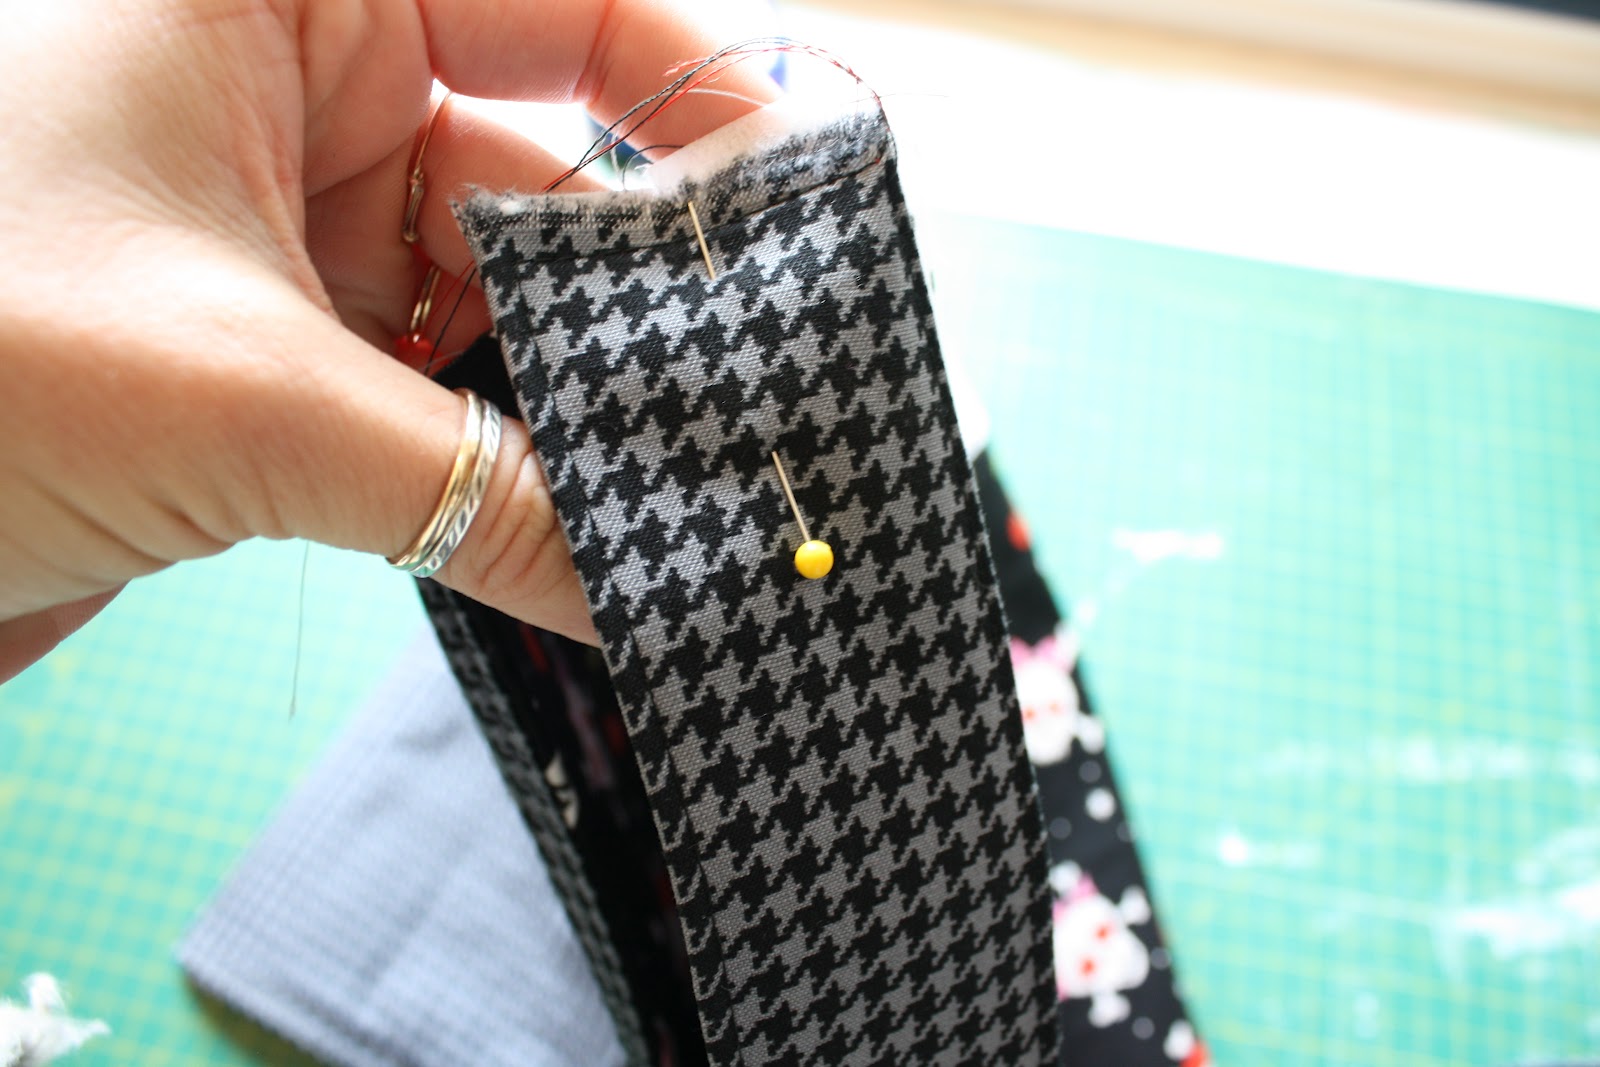

Be sure the seam is in the middle of the strap, so it looks professional. ;)

Almost there :)
19. Place the exterior bag inside of the lining, making sure to have your strap and flap sandwiched in there as well. Pin well, matching up side seams.

Look it over, be sure everything is okay.
Mark the area opposite the flap side with two red pins to remind yourself to stop sewing in that area. (For turning right side out.)

I once sewed a bag together leaving the strap out............don't ask. I amaze myself sometimes. LOL
Pin that sucker!

20. Sew all around the top at least a half inch seam width. Leave six inches open for turning right side out again.
Turn it out, press the top, and top stitch it closed.

You did it! YESSSSSSSS!
(I'm not shouting, I'm just excited--really.)
Ok I'm calm now.

I hope you had fun.
(I hope you aren't cursing me out, I tried to be very clear. If you need help, just email me.)
No comments:
Post a Comment